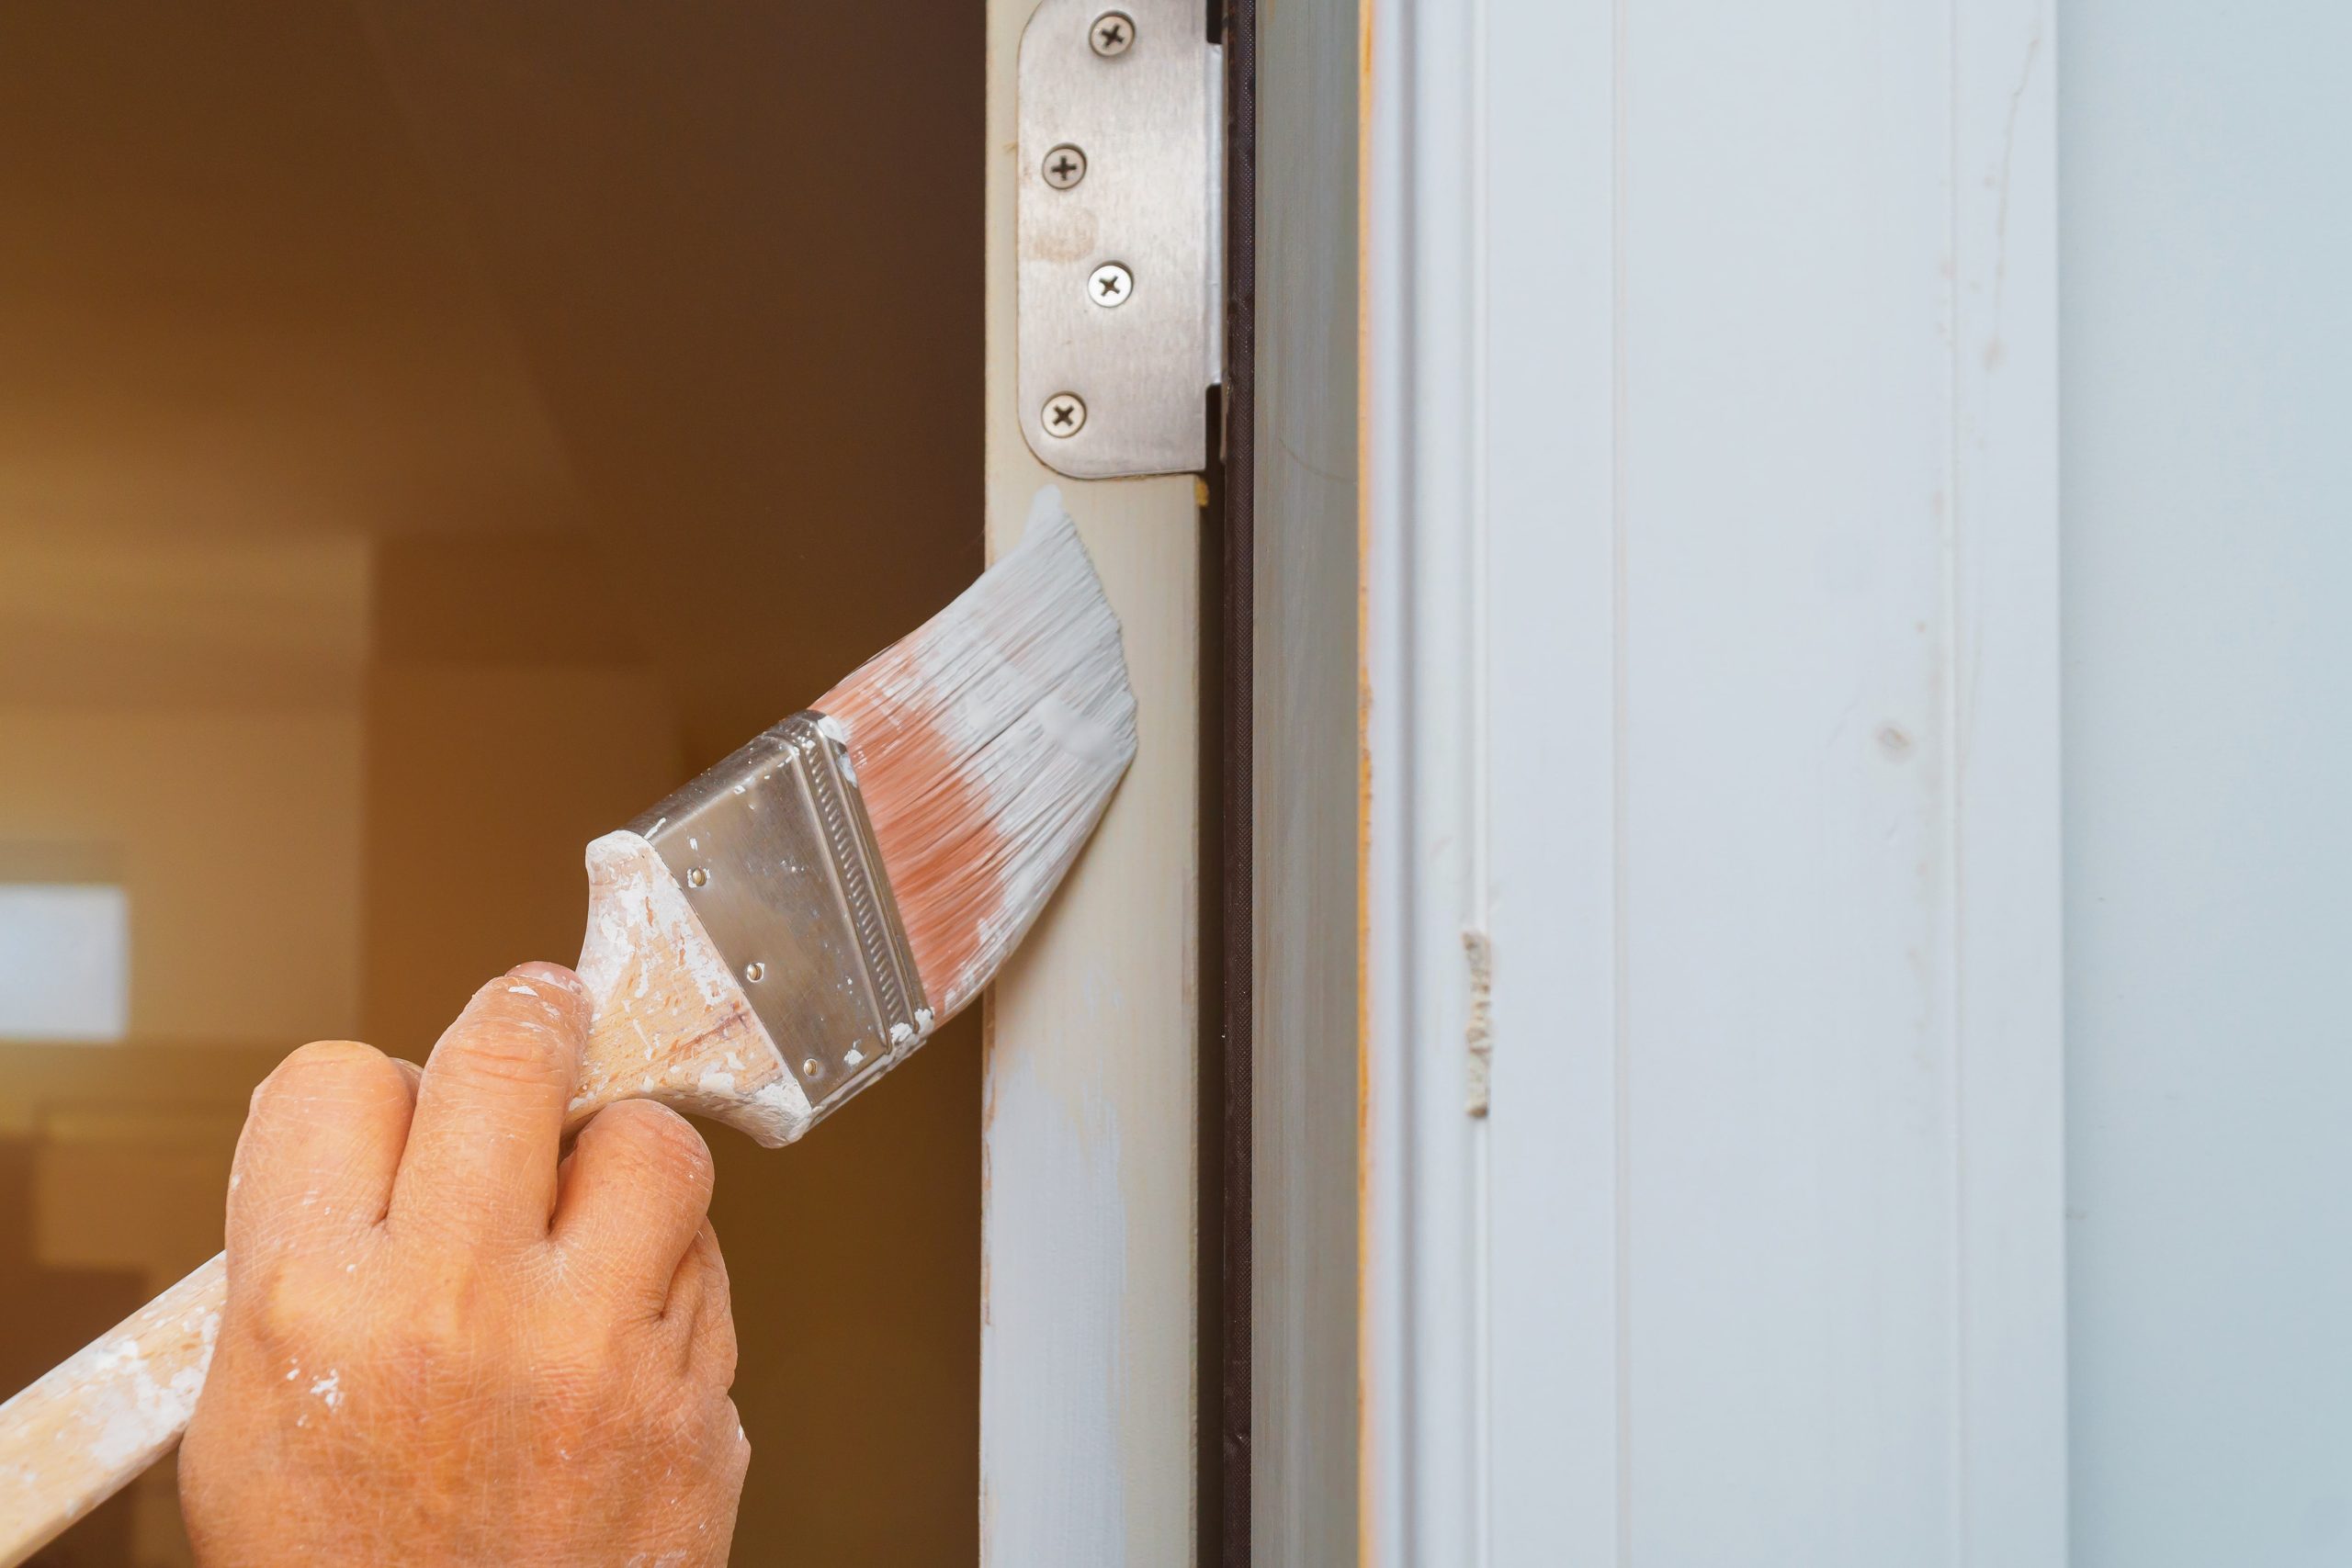
7 Easy Steps to Painting an Interior Door


 4th February 2020
Simple instructions to achieve a great painted interior door.
At Porter Decorator, we have painted too many doors to count. As a professional painter, our industry training and wealth of painting experience ensures we deliver great decorating results on every job. Our blog posts aim to share this knowledge in the form of easy to follow tips and advice.
Let us focus on the job ahead – getting a perfect finish to your interior doors. Following these instructions will help you avoid many of the common mistakes that we see time after time. Avoiding paint drips and heavy brush marks are what we get asked about very often. In order to get a great looking interior door, you need to follow a specific process.
The steps we lay out for you will allow you to have beautifully painted doors very time.
7 easy to follow steps for painting a door
-
Remove the door from its hinges (it’s worth the effort)
You want to start by getting the door free from its hinges. If you paint the door while it is still attached, you can end up getting paint where you don’t want it. It is much easier to paint all sides of the door when it is standing free. If, this is too difficult, consult a tradesman or continue while the door is still attached.
-
Prep the door – so important, don’t skip
Next, you want to clean the door of any debris, dirt and loose paint. Scrape peeled paint off and fill any holes with caulking or some other filler. You may also need to sand the door down to get it perfectly smooth. Once the door is completely smooth, you will be ready to paint. Make sure to wipe away all dust.
-
Prime the door – getting a good base
The paint may not stick very well if the door is not properly primed. You can prime it using a grey-tinted primer. This will allow you to easily change the colour to whatever you want. You can use a primer that is the colour you want to paint in if it is available, but that’s not necessary. The paint should completely cover the primer. Applying a suitable undercoat is essential.
-
Re-prep the door (yes, again)
Once you have applied the primer, then you need to sand the door once more to get rid of any new paint bubbles that might have formed. That’s fairly common when you are using a primer, so just know that you may need to do some extra sanding to smooth out the door.
-
Paint your door (with a foam roller where possible)
Now you are ready to paint the door, and you can use a foam roller with ease since the door is off its hinges. Other applications include using a suitable brush or a professional paint spraying system. Foam rollers are easy to use and a fairly inexpensive method to choose.
Be sure to paint from top to bottom in long, smooth strokes. This will eliminate any brush lines and reduce overlapping layers. You can paint the entire door before letting any one side dry. If you like, or you can paint it in parts. Just be sure to paint an entire side before you stop. That way, you get a nice, smooth finish. Reapply another layer of paint where required. This will depend on the quality and type of paint you use.

-
Let the door dry completely
The door needs some time to dry after you paint it. If the room is well ventilated, then you should only need to let it dry for about two hours, but your results may vary based on where you live and the conditions of the environment you are painting in. Even though the door may feel touch dry, adequate time should be allowed to ensure that the paint is hard prior to anyone handling the door and applying fittings.
-
Hang the door back up
Finally, you can hang the door back on its hinges. Just be sure that all the paint is dry. Following these steps will eliminate a lot of mess for you and ensure that you don’t have much clean-up to deal with. If you followed this guide, then you should have a beautiful door that you can be proud of with a paint job that will last for a long time.
Getting this perfect finish is achievable for many DIT enthusiasts. If you feel that the task is too much for you to handle, feel free to contact our team to see how we can help. Our team offer quotations and consider jobs large and small. Check out some of our recent projects to see our high-standards and quality of painting and decorating work.


