General DIY Painting and Decorating Tips


 5th August 2020
Many Irish homeowners decide to tackle painting some rooms in their home at some stage. Whether its to reduce costs or if you just feel creative, wee felt it would be a good idea to give you some general painting tips. We hope this helps reduce the tell-tale signs of a DIY paint job. If you make a mistake, you can quite often deal with it and improve the overall look of the room.
See below for some common errors that amateur painters tend to make.
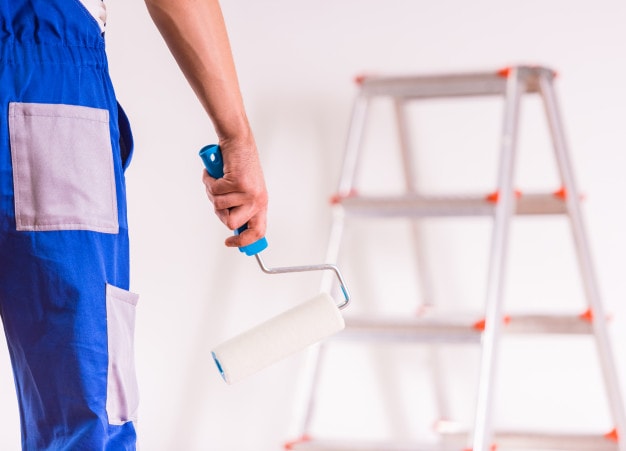
Paint Drips
Paint drips are very common to see on walls and doors throughout many homes. The typical cause for this is that you have applied too much paint to the surface. You need to reduce the amount of paint applied considerably. You should typically only have enough paint to cover the brush/roller, and thus should not be dripping off the tool prior to application. Repaint the area if the paint has not dried.
Removing existing drips is not a difficult painting and decorating task. Lightly sand the area to remove the raised paint or chip them away with a paint scraper. Then simply paint the area with another coat.
Removal of Stains
Stains are a common difficult area for a novice painter. There are a huge number of relevant product treatments for the various types of stains. Typically, we see stains caused by water, mould damage or even kid’s crayons. A common method is to clean the area and then to apply an oil-based undercoat. Let this dry and paint as usual with emulsion/satin paints.
Straighten out the Lines
A common sign of an amateur painter is the line between the walls and ceiling. There are many ways of tackling this problem, yet the best way to solve it is to practice and get your technique better. Many people advice you use tape or else a painting pad, yet we recommend you use a brush where possible. You need to use an angled brush. Don’t go too small with the brush as this will be harder to keep steady. Apply the paint a little lower than the ceiling line. Once applied in a line, go back over the painted area with the drier brush. Move-in one direction around the room typically left to right. Try to get the tip of the angled brush right where the ceiling meets the wall. Keep it steady. Repeat the steps once it’s dry.

Paint Brush Marks
When your paint job is finished and you can still see strong brush marks throughout the room, you should tackle this immediately. Thankfully, it’s not difficult to resolve. We advise that you sand down the areas of heavy lines until smooth. You should then repaint the area with a roller or a lighter brush avoiding marks where possible. Try not to damage the plasterwork by removing too much of the painted surface.
Bubbles rising in the Paintwork
This is a little trickier to deal with but can be resolved with a little know-how and effort. The cause for bubbles tends to be that the wall is too moist to paint. This could be that you wiped the walls down and there is still residue or that there is a moisture issue in the wall itself.
If there are moisture issues in the home, you should contact a professional to deal with it. It may be that there is a leak somewhere or that there simply isn’t enough ventilation in the room. It may also be a result that the wall is moist from recent rain without adequate insulation.
Sand all the bubbles off the wall until there is no evidence of them. You may need to use a paint scraper to get them off also. You should then attempt to repaint the wall once it is completely dry and safe to do so.
We hope these painting and decorating tips are of some use to you when you tackle your next DIY project. If you’d be interested in talking to a professional painting and decorating team about your next decorating job for your business or home, please give Eamonn a call or drop us a message here on our website.


